Plant, chop, eat and repeat!
Do you find yourself getting worried about food and funds nowadays? With the current enhanced community quarantine (ECQ), is it getting more and more difficult for you to venture out and buy food? Or are you just craving for some fresh produce that always seem to be out of stock at your nearby supermarket?
Whatever the challenge, there are a thousand reasons why now is the perfect time for you to start growing your own herb garden. Besides providing you with a ready supply of food, having herbs right in your backyard or balcony will allow you to save funds and eat healthy. Moreover, tending to plants can prevent cabin fever and help you maintain your sanity during this prolonged period of confinement.
Whether you are a well-versed green thumb or a planting newbie, here are some gardening hacks you might want to try this ECQ. These methods don’t require elaborate setups or even a patch of land, so you can easily do this by the window sill of your home. It’s now time to unleash your inner horticulturist.
Garlic
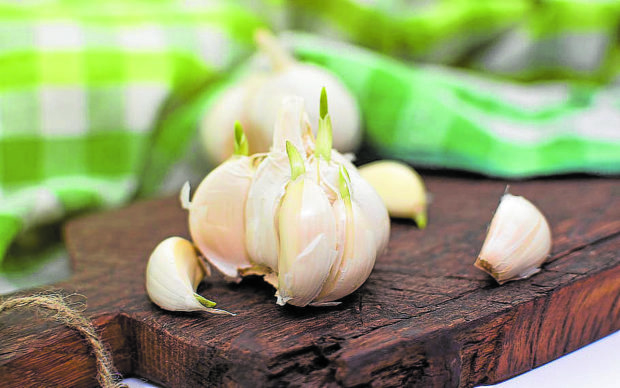
Easily one of the kitchen’s most frequently used staples, garlic can be difficult to source out these days. Thankfully, each bulb you buy presents an opportunity to grow another.
Ideally, you should buy garlic from the market or local sources. Most of the time, commercially sold garlic bulbs are treated so that they won’t sprout. But if you notice a bud starting to blossom from a forgotten piece in your kitchen, you’re in luck.
To plant garlic from a single bulb, choose the largest cloves from the bunch and plant them in a pot, three inches from the surface of the soil. Make sure your chosen container has a few holes to allow the soil to drain whenever you water the plants. If you intend to plant several bulbs in a single pot, opt for a rectangular planter and space the cloves at least 18 centimeters apart. Just think of it as social distancing for the plants to thrive.
Garlic doesn’t require meticulous care, just remember to water regularly and weed out the occasional strays. For best results, plant during the rainy season and anticipate harvesting during the summer months.
Ginger
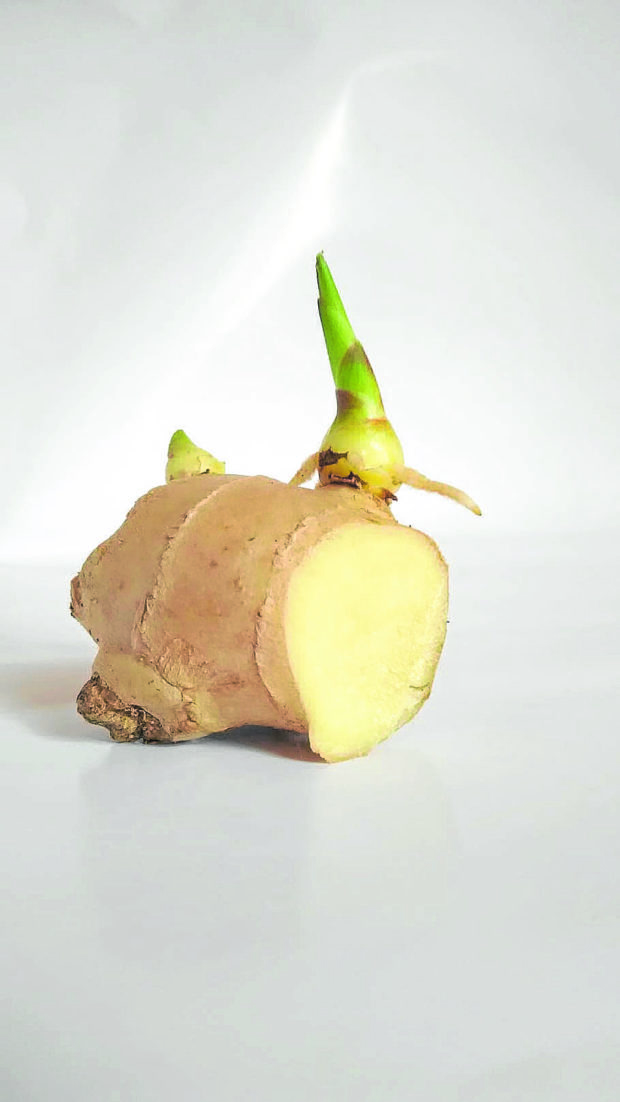
This little rhizome is another plant which you can cultivate from a store-bought piece. Packed with flavor, a fresh piece in a pot can surely liven up your tinola soup any time of the day.
To plant ginger, choose portions of the root crop with visible buds or “eyes.” The eyes of the ginger are the points where branches of the root spring from. Soak these piece in water overnight to get rid of any chemicals. Plant them about 8 centimeters deep in good soil and provide proper drainage. This means that if you’re using a pot, there should be enough holes to drain out the water so that your little ginger won’t drown to death.
After which comes the most difficult part: waiting. Put your pot of ginger in humid spots at home, like the kitchen or bathroom. Don’t allow it to sizzle under the sun directly, but ensure that it has filtered sunshine, a sheltered spot, and moist, rich soil. It takes about four months for your plant to yield the fruits of your labor, but a few breaks of the rhizome when you’re caught in a kitchen rut won’t hurt.
Monggo Bean Sprouts
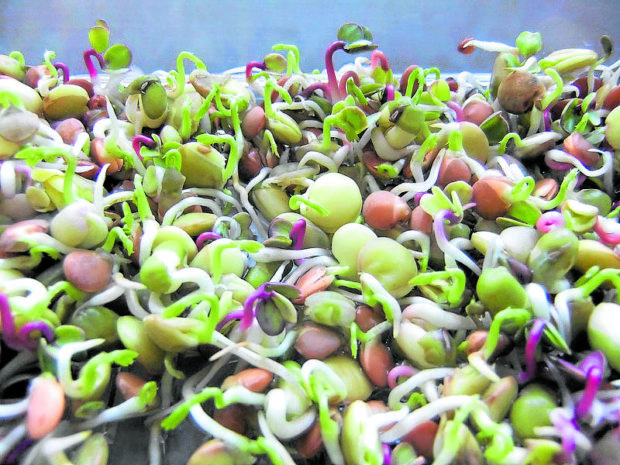
Growing your own bean sprouts is easy enough for children to take on. It’s perhaps the reason why this endeavor is a common project in elementary school classes. Even without a garden or a pot, you can cultivate these at home and end up with sprouts that are more delicious than the store-bought kind.
To grow your own bean sprouts, use something porous to contain your beans. A flat and rectangular strainer or coriander works perfectly. Place a pan underneath the strainer to catch water. Make sure your equipment is clean when tending to your plants and keep insects away from your mini-garden.
Procure dried monggo beans and soak them in water to cover at least 2.5 cm above the surface level. Soak the beans in room temperature for 6 hours or more. Afterwards, line the strainer with two layers of damp paper towel to keep the plants moist. Scatter the wet beans on top of this setup and cover your mini-farm with a dishtowel. Choose dark-colored towels to control the light coming in and to ensure your bean sprouts won’t taste bitter.
Set the beans in a shaded area in the house for a couple days and water the plants 2 or 3 times a day. After 5 or 6 days, you’ll be rewarded with fresh sprouts. Remember to cook them well to kill off any bacteria and enjoy!
Oyster Mushrooms
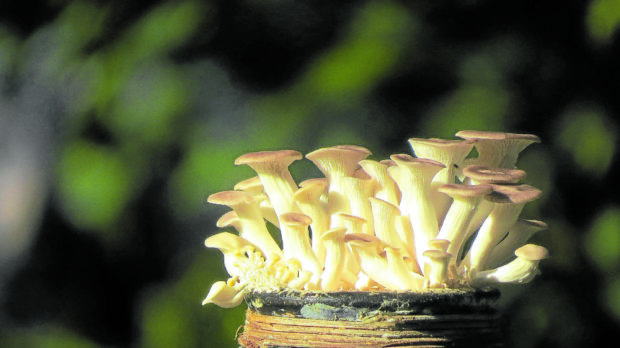
If you’re into homemade pizzas or omelets, why not try growing your own mushroom at home? You can grow the usual ones that you buy in cans or packs at the grocery: shiitake, white button or oyster mushrooms. In particular, oyster mushrooms can be cultivated from coffee grounds. Using this process will allow you to produce free, organic mushrooms from stuff that you often have and just throw away.
To start off, purchase oyster mushroom spawn from a nearby farm or an online seller. Once you have the spawn on hand, collect fresh coffee grounds. If you don’t really consume a lot of coffee at home, it’s alright to ask used coffee grounds from your local coffee shop. It is important that the grounds are fresh to grow mushrooms successfully. If you have a choice, choose espresso grounds as they are the ideal substrate.
Mix together the ground and spawn. The ratio should be that the oyster mushroom spawn will be equal to 10 percent of the coffee ground weight. Add moist sawdust pellets to the mixture, with the sawdust weighing roughly 20 percent of the coffee grounds. Make sure to crumble the grounds when mixing.
Place the mixture in a plastic container and set put in a warm, dark space for two to three weeks. The room should ideally be 20 to 24 Celsius in temperature. Once the contents of the bags turn bright white, relocate the bag in a shaded spot with indirect sunlight. Cut a hole in your bag for the mushrooms to push out of and water the plant every day. In 5 to 10 days, you should be able to see some mushrooms growing through the bag. Continue cultivating it for a week to allow the mushrooms to increase in size. When the caps of the mushrooms turn flat, harvest with a knife and enjoy!
Make the most out of the ECQ and unleash your inner gardener. Whether you live in a small apartment unit or a house with a yard, you can pretty much self-sustain if you have a little patience and tons of creativity.
Sources:
grocycle.com
www.onegreenplanet.org
www.vietworldkitchen.com
www.pxfuel.com
www.wallpaperflare.com
Julie Gibbons via flickr.com
thanhlocpham via pixabay.com


